Understanding Zero Threshold Shower Design
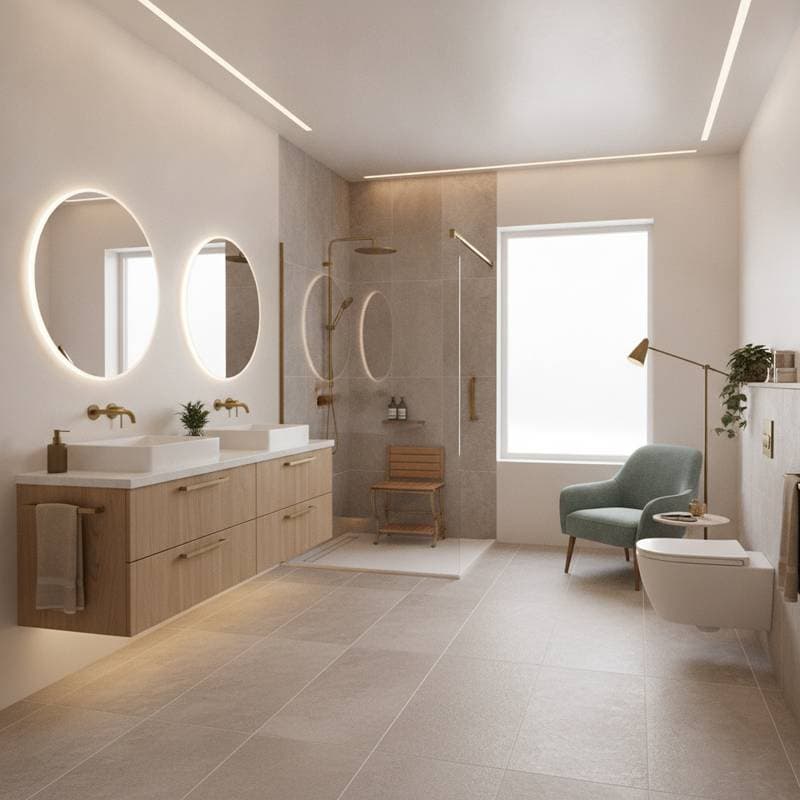
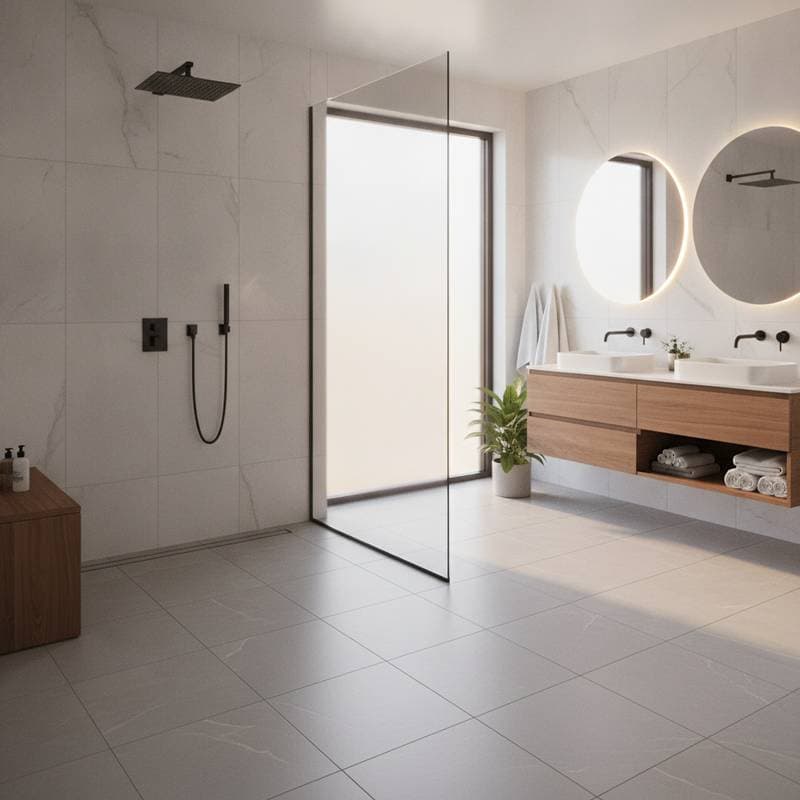
Zero threshold showers eliminate the step or curb that traditionally separates the shower area from the rest of the bathroom floor. This flat transition supports easier movement for individuals who use wheelchairs, walkers, or who face balance challenges. The approach combines accessibility with a streamlined appearance that suits modern bathroom layouts.
Homeowners planning for long term residency benefit from this design because it reduces fall risks while maintaining visual continuity. Proper planning starts with evaluating the existing floor slope and drain placement to ensure water flows correctly without pooling.
Planning the Layout and Space Requirements
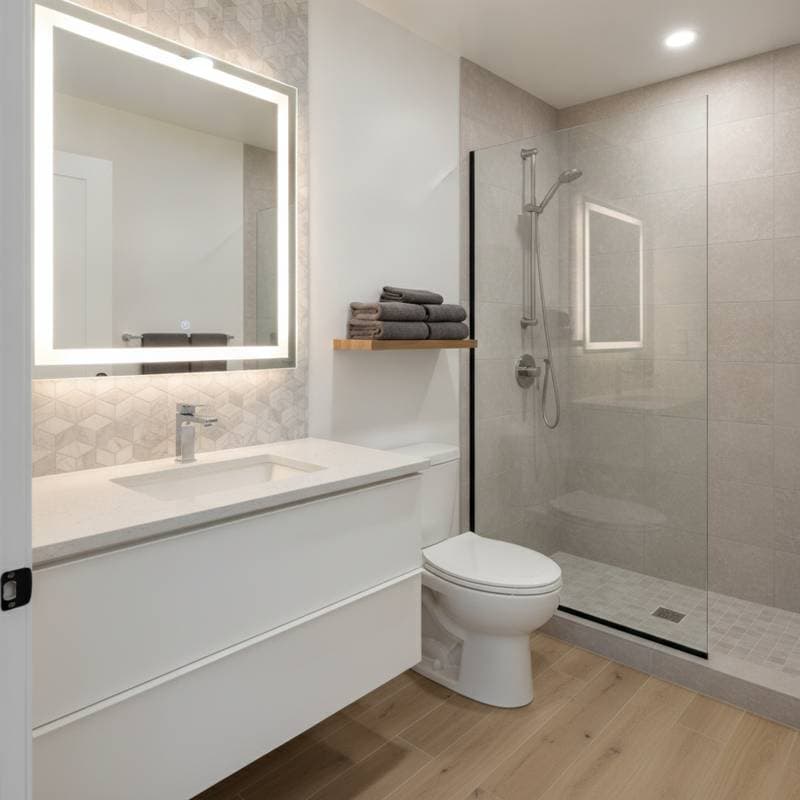
Measure the bathroom footprint before selecting shower dimensions. A minimum width of 36 inches allows comfortable maneuvering for most users, though 48 inches provides additional room for a caregiver if needed. Position the drain toward the center or rear wall to keep the entry area dry.
Consider door swing direction and fixture placement at this stage. Relocating the toilet or vanity may be necessary to create an unobstructed path. Sketch multiple configurations on paper to identify the option that preserves storage while meeting clearance standards.
Waterproofing and Substrate Preparation
Effective waterproofing begins with a continuous membrane that extends from the shower floor up the walls by at least six inches. Apply the membrane over a pre sloped mortar bed or a preformed tray system designed for curbless installations. Test the membrane with a flood test before tiling to confirm there are no leaks.
Select a substrate that can support both the weight of tile and the expected foot traffic. Cement board or a waterproof foam panel provides a stable base. Ensure all seams receive proper sealing tape and that the slope measures one quarter inch per foot toward the drain.
Selecting Materials and Finishes
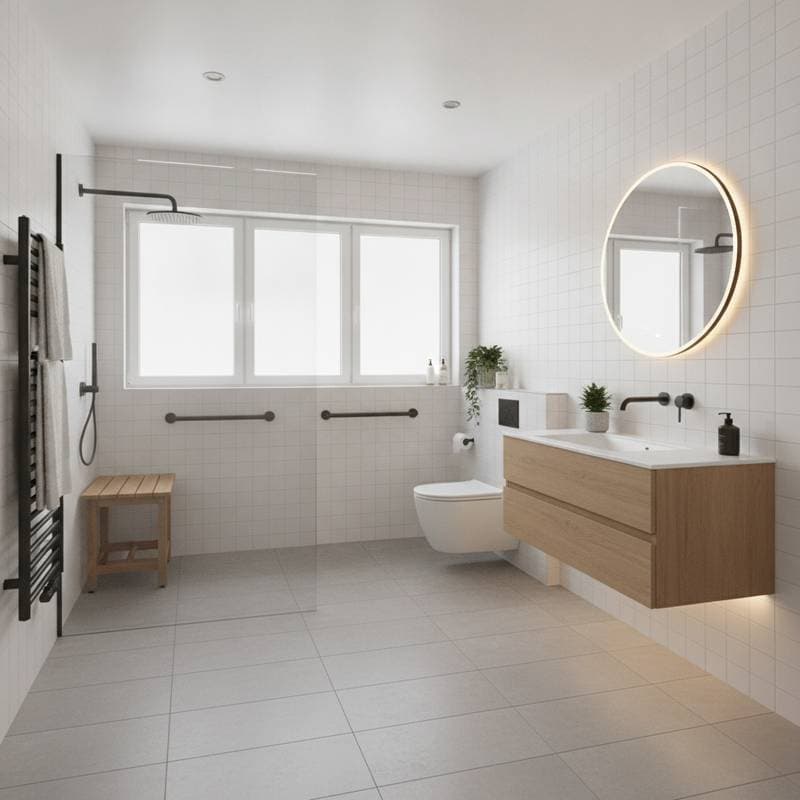
Large format porcelain tiles with a matte or textured surface reduce slip hazards while simplifying cleaning. Grout lines should be narrow and sealed to limit moisture absorption. For added safety, incorporate linear drains with decorative covers that match the tile pattern.
Wall treatments can include large slabs or vertical tile patterns that draw the eye upward and create a sense of spaciousness. Avoid high gloss surfaces on the floor. Instead, choose finishes rated for wet areas and tested for coefficient of friction values above 0.6.
Integration With Existing Systems
Coordinate plumbing rough ins early so that the drain connects to the main waste line without requiring excessive floor height adjustments. If the bathroom sits on a concrete slab, a topical slope may be needed. Wood framed floors often require sistering joists or adding blocking to support the new pan depth.
Electrical planning should include lighting that eliminates shadows in the shower zone. Recessed fixtures rated for damp locations and a wall mounted handheld showerhead with a slide bar improve usability for seated or standing users.
Maintenance and Long Term Value
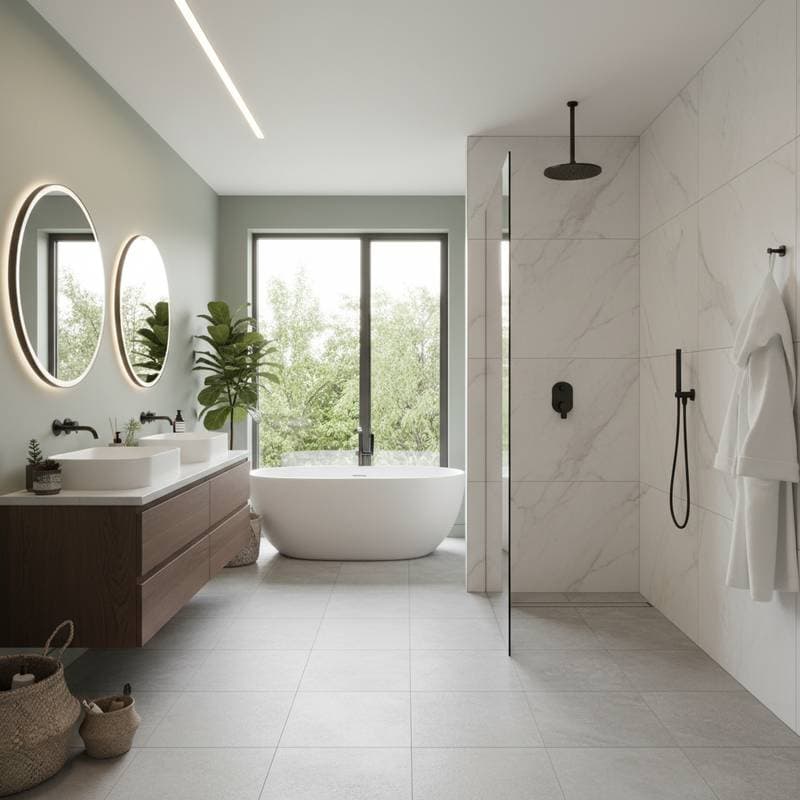
Routine care involves squeegeeing the floor after each use and applying a penetrating sealer to grout and tile every 12 to 18 months. Inspect the drain cover and membrane edges annually for signs of wear. These steps preserve both appearance and function.
A properly executed zero threshold shower increases property value by meeting universal design standards that appeal to a wide range of buyers. The investment supports independent living and reduces the likelihood of future remodeling.