Induction Retrofits Deliver Efficient Electric Kitchen Upgrades
Homeowners are rethinking how they cook. Induction retrofits have become one of the smartest upgrades for anyone converting to an electric kitchen. The shift from gas or older electric ranges to induction cooking brings safety, control, efficiency, and long term savings. As a remodeling contractor who has installed dozens of these systems, I have seen how the right retrofit can completely change how a kitchen performs and feels.
This guide explains what induction retrofits involve. It shows how to plan and execute them properly and what mistakes to avoid. It also covers costs, electrical requirements, and how to make sure your investment delivers the performance you expect.
The Cost of Doing It Wrong
Induction retrofits can go sideways quickly when not planned properly. I have seen homeowners buy an induction cooktop only to realize their electrical panel cannot handle the load. Others find that their countertop cutout does not fit the new unit. This leads to costly modifications. A few end up replacing cookware that is not induction compatible. These replacements can add hundreds of dollars they did not budget for.
If you skip proper electrical work, you risk tripping breakers, overheating wires, or voiding warranties. Poor installation can also affect performance. Induction units require specific clearances for ventilation. Ignoring those clearances can shorten the life of the appliance.
Treating induction like a plug and play replacement is a mistake. It requires planning, precise electrical work, and sometimes cabinetry adjustments. Done right, it is a clean, efficient upgrade. Done wrong, it becomes a frustrating and expensive problem.
Measure and Plan the Cutout
Most cooktops have standard widths, but depth and corner radius vary by manufacturer. A common retrofit mistake is assuming all cooktops fit the same opening. Measure carefully before ordering.
If you are replacing a traditional electric coil or smooth top range, the countertop cutout may need modification. For quartz or granite counters, these adjustments must be done by a fabricator with the right tools. Trying to grind or cut stone on site without dust control or diamond tools can damage the surface and void warranties.
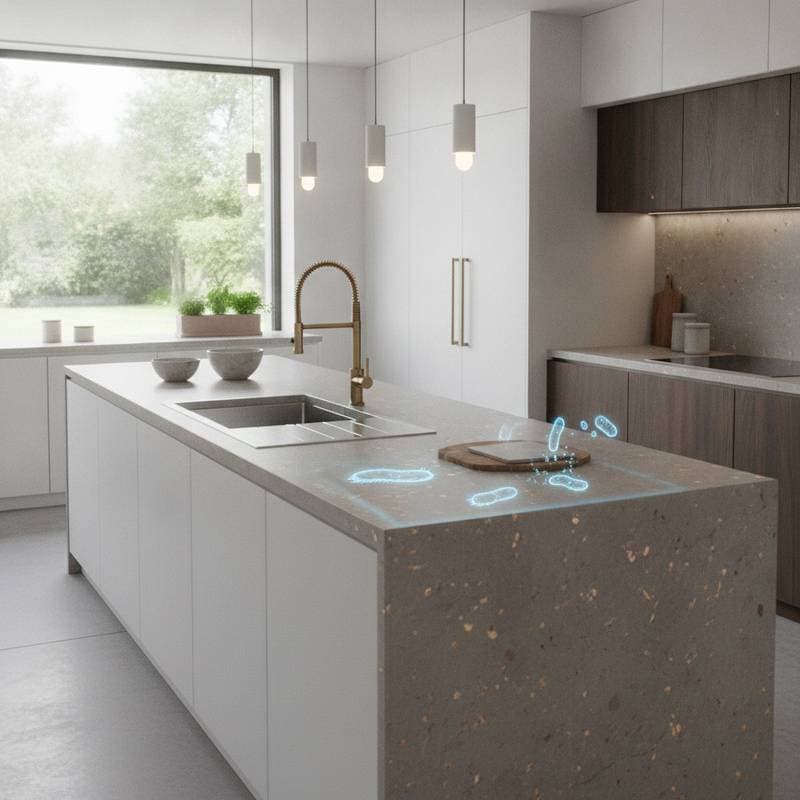
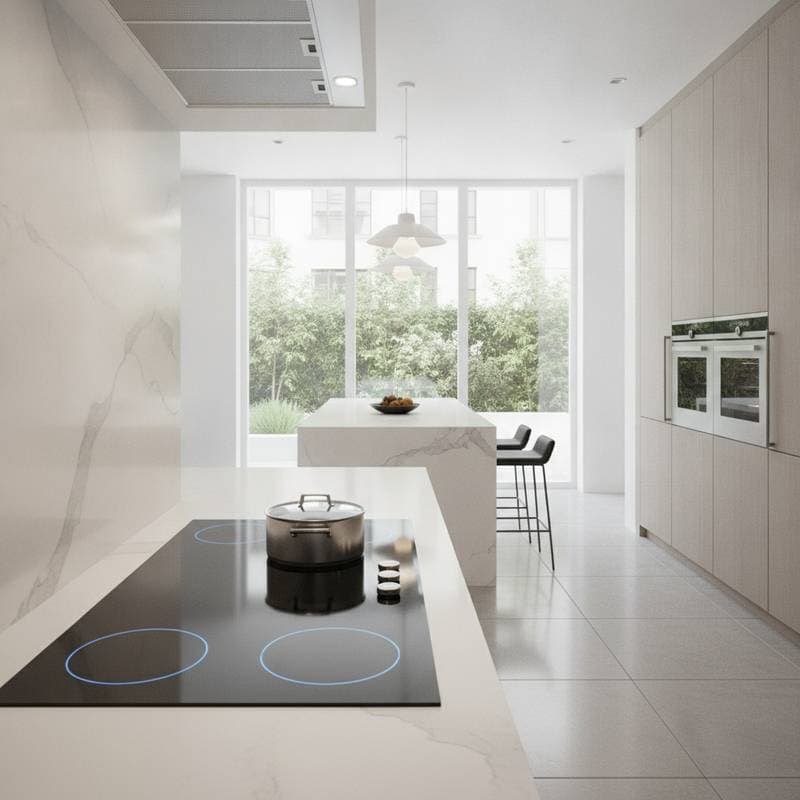
When planning the layout, consider ventilation as well. Induction cooktops generate less heat than gas, but they still need airflow beneath the unit to protect internal components. Leave at least two inches of clearance below the cooktop. Ensure cabinets are not packed tightly with insulation or stored items.
Verify Cookware Compatibility
Induction only works with magnetic materials. Stainless steel, cast iron, and some enameled cookware are fine. Aluminum, copper, and glass will not heat unless they have a magnetic base layer. Before installation, test your existing cookware with a magnet. If it sticks firmly to the bottom, it will work.
Homeowners switching from gas often underestimate how much cookware they will need to replace. A full set of induction compatible pots can cost several hundred dollars. Budget for it upfront so it does not become an unpleasant surprise later.
Hire Qualified Professionals
Induction installation involves both electrical and cabinetry work. While some skilled homeowners can handle simple replacements, most retrofits require a licensed electrician and sometimes a countertop fabricator. Hiring unqualified help to save a few hundred dollars can backfire if the installation fails inspection or creates safety hazards.
Ask your contractor or electrician for proof of licensing and insurance. Request experience specifically with induction systems. Ask for references from similar retrofit projects.
In my business, I always provide documentation showing compliance with local electrical codes and manufacturer installation requirements. This protects both the homeowner and my company if any warranty issues arise later.
Common Mistakes to Avoid
After years of doing these installations, I have seen recurring issues that cause headaches for homeowners. Avoid these pitfalls.
- Skipping the electrical load calculation. Never assume your kitchen circuit can handle a new cooktop.
- Ignoring ventilation. Even though induction is cooler, it still needs proper airflow.
- Rushing countertop cuts. Poor quality cuts can crack stone or weaken laminate edges.
- Buying the wrong cookware. Always check for magnetic compatibility before installation.
- Failing to register warranties. Most manufacturers require proof of professional installation for coverage.
Taking the time to plan properly avoids costly rework later.
Maintain Your Investment
To keep your induction system running smoothly, follow a few simple maintenance habits.
- Keep surfaces clean. Wipe spills quickly to avoid residue buildup that can interfere with heat transfer.
- Inspect ventilation. Make sure air intakes beneath the cooktop remain clear.
- Avoid dragging heavy cookware. Lift pots instead of sliding them to prevent scratches.
- Check electrical connections periodically. Have your electrician verify that terminals remain tight and corrosion free.
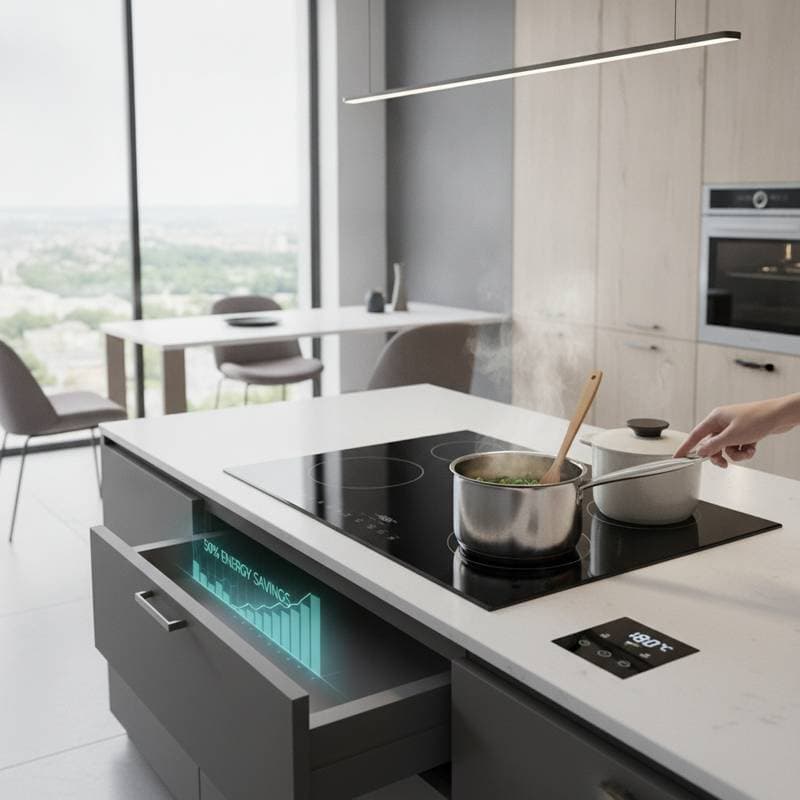
- Follow manufacturer updates. Some models receive firmware or software updates that improve performance.
Plan Your Upgrade
Start with a load calculation and a precise countertop measurement. Confirm cookware compatibility and line up licensed professionals before ordering equipment. These steps turn an induction retrofit into a reliable, long lasting improvement that reduces energy use and increases safety.