Induction Installation Made Simple
Induction cooktops represent a significant advancement in kitchen technology. These appliances use electromagnetic fields to heat cookware directly, which results in faster cooking times and greater energy efficiency compared to traditional gas or electric stoves. Homeowners increasingly choose induction for its precision and safety features, such as the inability to ignite nearby materials.
The transition from gas to induction involves considerations like electrical compatibility and installation logistics. This guide covers the reasons for the shift, detailed installation procedures, necessary electrical setups, associated costs, and long-term advantages. By following these steps, you can achieve a seamless upgrade that enhances your cooking routine.
Why Induction Cooktops Are Gaining Popularity
Induction technology heats pots and pans through magnetic induction rather than open flames or heating elements. This method boils water in half the time of gas stoves and maintains consistent temperatures for baking or simmering. Safety improves because the surface remains cool to the touch unless a compatible pan is present, reducing burn risks.
Energy savings add another layer of appeal. Induction units consume up to 30 percent less power than conventional electric models, which lowers utility bills over time. Cleaner air quality benefits households, as there are no combustion byproducts like those from gas burners.
Environmental factors also play a role. With growing emphasis on sustainable living, induction aligns with reduced carbon footprints by pairing well with renewable energy sources. Homeowners report easier maintenance, since spills do not bake onto hot surfaces.
Preparing for Installation
Assess your kitchen layout before purchasing an induction cooktop. Measure the countertop space to ensure the unit fits without obstructing workflows. Verify that your cookware is induction-compatible; most stainless steel or cast iron pieces work, but test with a magnet if unsure.
Consult local building codes for appliance installations. Some areas require permits for electrical modifications. Gather tools such as a screwdriver, wire strippers, voltage tester, and possibly a multimeter for safety checks.
Plan for professional help if your setup involves complex wiring. While basic replacements are manageable for handy individuals, errors in electrical work can pose hazards. Budget time for the project, typically two to four hours for a standard installation.
Electrical Requirements
Induction cooktops demand a dedicated 240-volt circuit, unlike the 120-volt lines for many electric stoves. Check your home's electrical panel for available breakers rated at 40 to 50 amps. If insufficient, an electrician must upgrade the service to prevent overloads.
Wiring specifications include using 6-gauge copper wire for runs under 50 feet. Grounding is essential; connect the unit to the home's grounding system per the National Electrical Code. Install a GFCI outlet if the cooktop is near water sources like sinks.
Test the circuit after setup. Use a voltage tester to confirm stable power delivery. Address any fluctuations immediately to avoid damaging the appliance or creating fire risks.
Step-by-Step Installation Guide
-
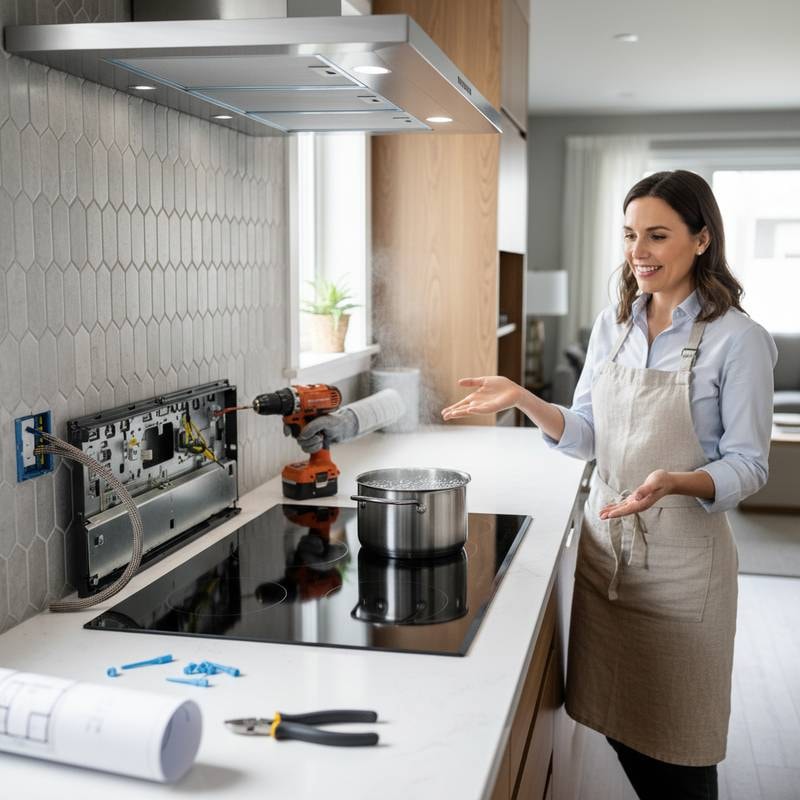
Disconnect power at the breaker box to ensure safety. Remove the old cooktop by unscrewing mounting brackets and lifting it out carefully.
-
Prepare the cutout in the countertop. Trace the new unit's template and use a jigsaw for precise edges if modifications are needed. Seal gaps with silicone caulk to prevent moisture entry.
-
Position the induction cooktop into the opening. Secure it with provided clips or screws, ensuring level alignment for stability.
-
Connect the wiring. Match the unit's terminal block colors to the circuit wires: black to black for hot, white to white for neutral, green or bare to ground. Tighten connections firmly but avoid over-torquing.
-
Restore power and test functionality. Turn on the breaker, then activate each burner zone with compatible cookware. Monitor for unusual noises or heat patterns.
Follow the manufacturer's manual for model-specific details. If issues arise, such as error codes, reset the unit or consult support resources.
Understanding Costs and Budgeting
Entry-level induction cooktops start at around $500 for basic four-burner models. Premium options with smart features reach $2,000 or more. Factor in installation expenses, which range from $200 for simple swaps to $1,000 for electrical upgrades.
Additional costs may include new cookware if your current set is incompatible, typically $100 to $300 for a starter kit. Permits and inspections add $50 to $150 depending on location. Long-term savings on energy often offset initial investments within two years.
Compare warranties; most units offer two to five years of coverage. Opt for models with strong customer support to minimize future repair costs.
Benefits Realized After Installation
Once installed, induction cooktops deliver immediate improvements in daily cooking. Precise temperature control allows for restaurant-quality results, from searing steaks to delicate sauces. The cool surface simplifies cleanup, as you can wipe down the cooktop while it cools.
Safety enhancements protect families, especially those with children or elderly members. No open flames mean lower fire risks, and automatic shutoff features prevent accidents. Energy efficiency translates to noticeable reductions in monthly bills.
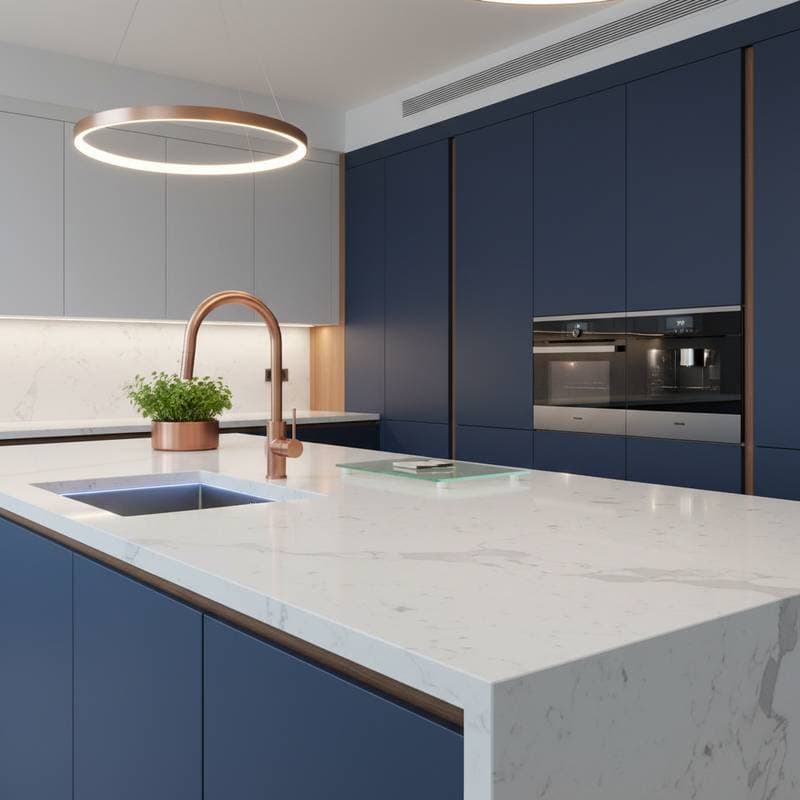
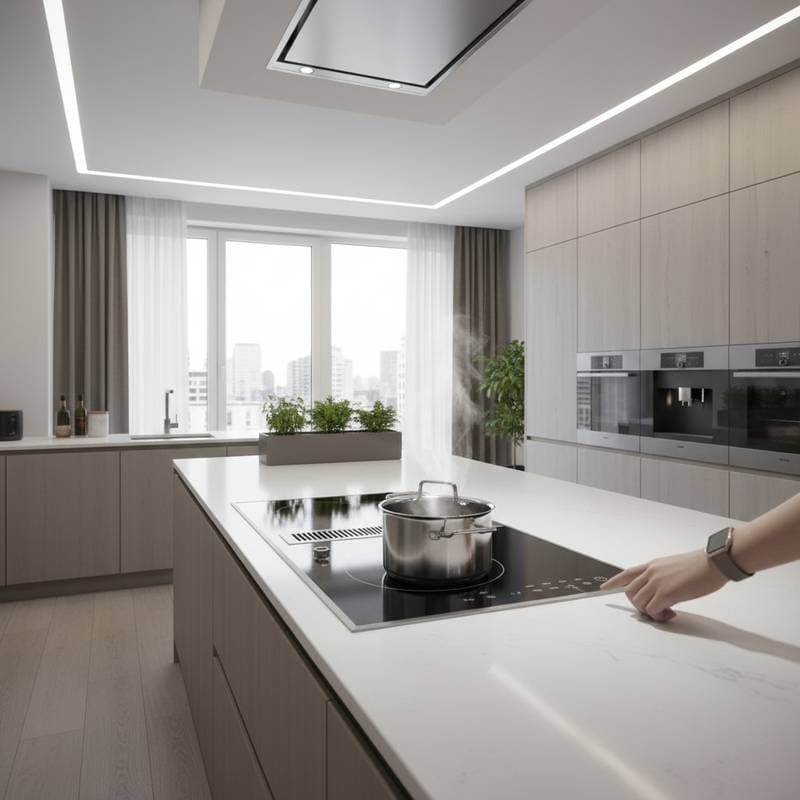
Your kitchen gains a modern aesthetic with sleek, flush designs. Integration with hood vents or smart home systems adds convenience. Over time, these upgrades contribute to a more enjoyable and efficient home environment.
Next Steps for Your Kitchen Upgrade
Select a cooktop that matches your cooking habits and budget. Schedule electrical assessments if needed to confirm compatibility. Proceed with installation confidently, knowing the process yields lasting value.
Monitor performance in the first weeks and adjust habits accordingly. Explore recipes optimized for induction to maximize its capabilities. This investment elevates your kitchen into a hub of innovation and ease.


