Why Wet Rooms Outshine Traditional Showers in Luxury
Wet rooms represent a shift in bathroom design that prioritizes openness and elegance. These spaces eliminate barriers between the shower and the rest of the room, creating a seamless environment that enhances both aesthetics and functionality. Homeowners appreciate how wet rooms transform ordinary bathrooms into serene retreats.
The appeal extends beyond appearance. Proper installation ensures durability and ease of use, making wet rooms suitable for diverse needs. This guide explores the elements that make wet rooms superior to traditional showers.
Open Design Enhances Space and Style
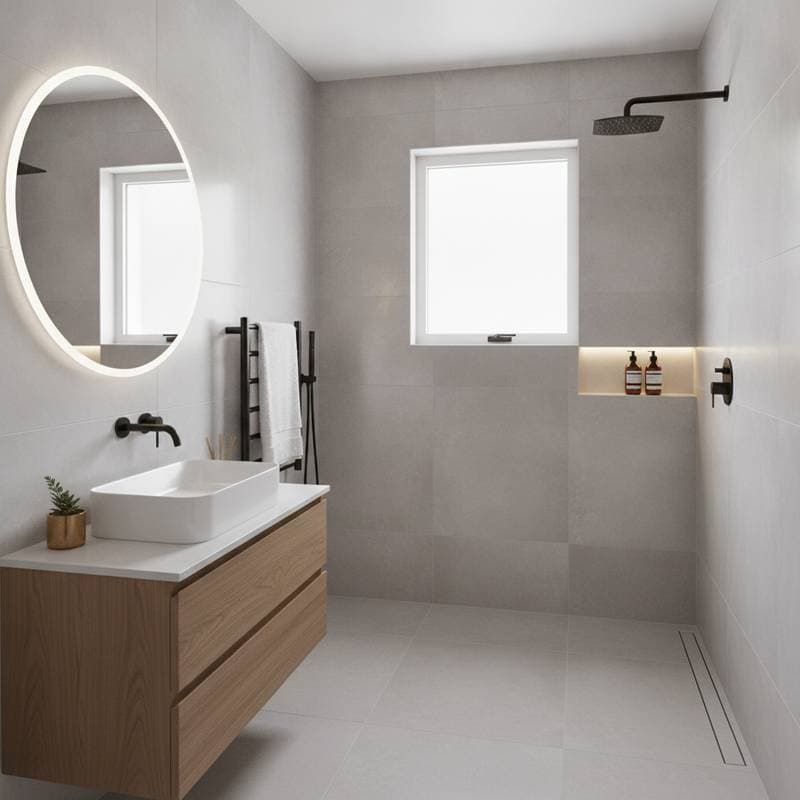
The core feature of a wet room is its open layout. Without enclosed cubicles or doors, water flows freely across a sloped floor toward integrated drains. This setup fosters a spacious feel, even in smaller bathrooms.
Designers often select large-format tiles to maintain continuity between floor and walls. Such choices create a monolithic surface that reflects light and minimizes visual interruptions. For variety, incorporate subtle patterns in grout lines or textured accents to add depth without overwhelming the space.
This flexibility allows customization to match any interior theme. Pair matte finishes with glossy highlights for contrast, or use uniform tones for a minimalist effect. The result is a bathroom that feels expansive and inviting.
Inclusive Access for All Users
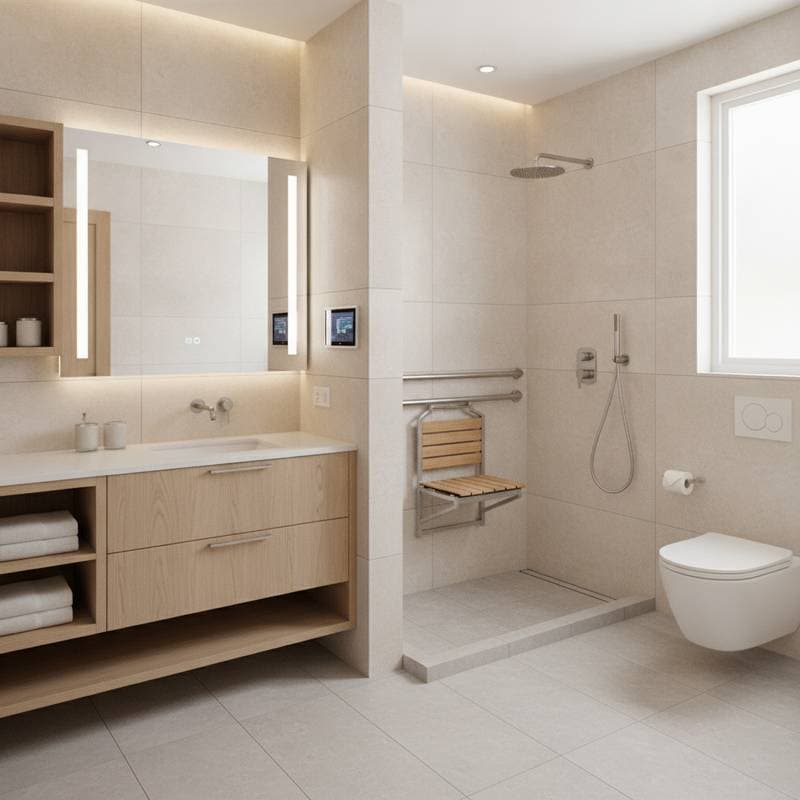
Wet rooms excel in accessibility due to their level-entry design. Absence of steps or curbs accommodates wheelchairs, walkers, and children with ease. This universal approach integrates safety into luxury without compromising style.
Installation begins with assessing the subfloor for proper sloping, typically a one-quarter-inch drop per foot toward the drain. Reinforce walls with waterproof membranes to prevent leaks. These steps ensure the space serves users across generations.
Budget considerations vary by scope. Basic setups with standard tiles and linear drains cost around $5,000 to $10,000. Premium options, including custom glass screens and heated elements, range from $15,000 to $30,000, yet both deliver comparable openness.
Visual and Photographic Advantages
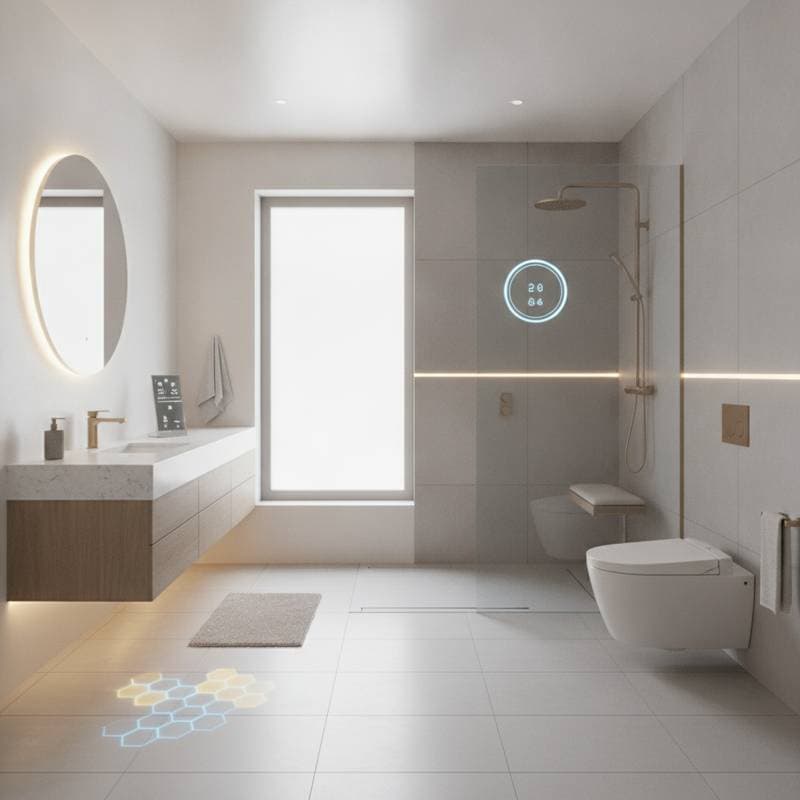
Wet rooms capture light and space in ways that traditional showers cannot. Unobstructed views and reflective materials amplify natural illumination, making rooms appear larger. This effect proves ideal for photography and daily enjoyment.
Incorporate floating vanities or wall-mounted shelves to preserve floor space. Position freestanding tubs adjacent to the shower area for a cohesive layout. Such arrangements avoid clutter and promote a clean, modern aesthetic.
Even compact areas benefit from this design. Remove existing partitions to unify the space, then add strategic mirrors to bounce light. The transformation turns confined quarters into airy sanctuaries.
Essential Waterproofing Techniques
Success in wet room construction hinges on robust waterproofing. Apply tanking systems, such as liquid membranes or sheet barriers, to all surfaces exposed to water. These create a watertight envelope that directs moisture to drains.
Choose systems from established providers like Schluter for reliability. For floors, install pre-sloped boards to achieve the necessary gradient without extensive tiling adjustments. Professionals verify seals with flood testing before final finishes.
Flooring selections prioritize safety and durability. Opt for porcelain tiles with a high slip-resistance rating, such as R11 or above. Natural stone offers elegance but demands periodic sealing; alternatives like microcement provide a stone-like appearance with simpler upkeep.
Optimizing Lighting for Ambiance
Effective lighting elevates the wet room experience. Install recessed LED fixtures in the ceiling to distribute even illumination. Supplement with linear strips along wall recesses for layered effects.
Position low-level lights near benches or shelves to guide evening use. These create a soft, enveloping glow that enhances relaxation. Dimmable options allow adjustment for different moods, from invigorating mornings to soothing nights.
Maximize natural light where possible. Frosted glass panels preserve privacy while admitting daylight. In windowless spaces, use high-gloss tiles and metallic accents to mimic outdoor brightness and maintain vitality.
Ventilation and Heating for Comfort
Adequate ventilation prevents moisture buildup in wet rooms. Select extractor fans rated at least 100 cubic feet per minute, equipped with humidity sensors for automatic activation. Position vents near the shower to capture steam efficiently.
Underfloor heating adds warmth and luxury. Electric mats, installed beneath tiles, warm surfaces quickly and cost $500 to $1,000 for average rooms. Hydronic systems suit larger areas, offering consistent heat through water circulation.
These features dry the space faster, reducing mold risk. Combine with dehumidifiers for high-humidity climates. The result is a comfortable environment that maintains hygiene and invites prolonged use.
Advances in Materials and Installation
Recent material innovations simplify wet room creation. Self-sealing grouts and antimicrobial coatings resist wear in moist conditions. These reduce maintenance while preserving the integrity of tiles and stones.
Modular panels with built-in waterproofing streamline assembly. Pre-fabricated bases ensure accurate slopes, minimizing on-site errors. Contractors appreciate how these products shorten timelines from weeks to days.
For durability, select materials tested for wet environments. Avoid porous options without treatment. Such choices ensure the design withstands daily use while retaining its sophisticated appeal.
Achieving Wet Room Style on a Budget
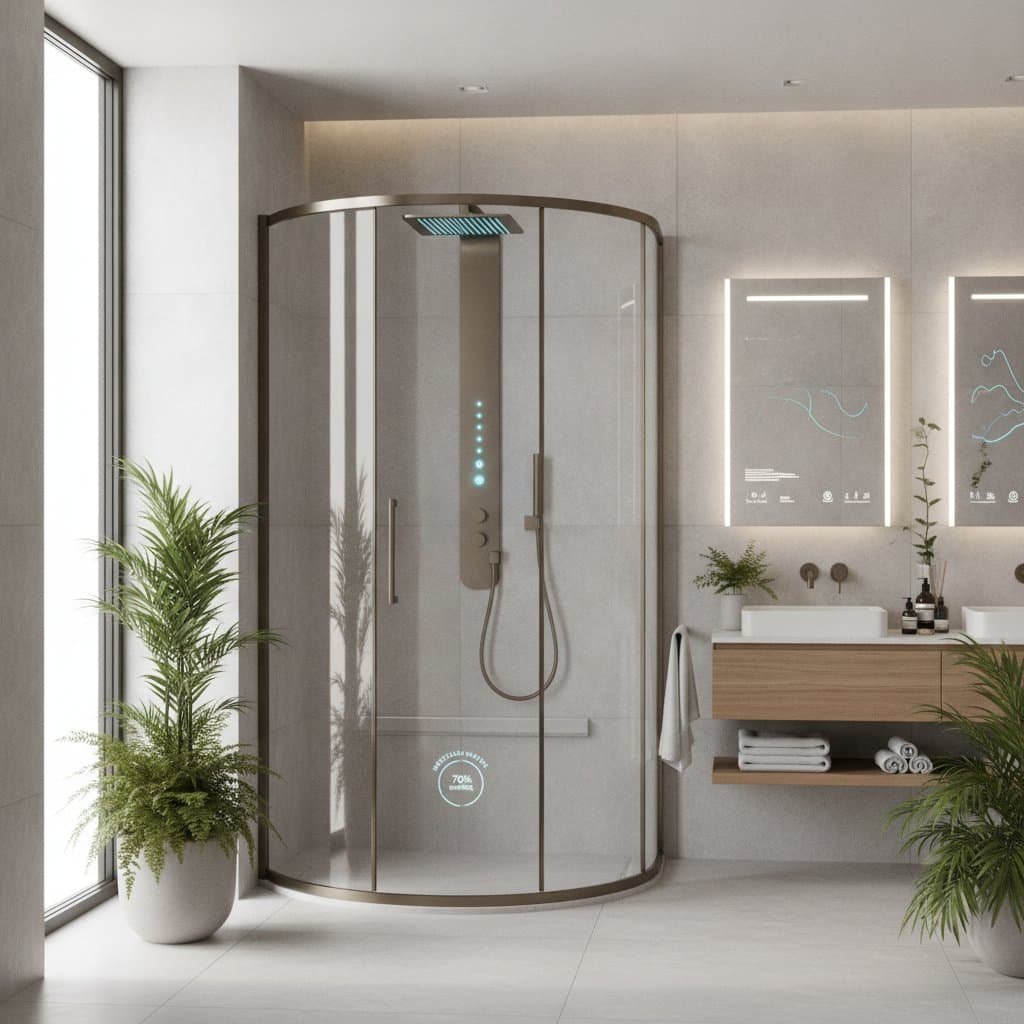
Affordable wet rooms focus on strategic updates. Extend existing floor tiles into the shower zone and install a low-profile glass panel instead of full enclosures. Add a rainfall showerhead with adjustable arm for versatility.
Upgrade fixtures with concealed piping to hide hardware. Wall-mounted taps and thermostatic controls enhance the sleek profile. These modifications cost $2,000 to $5,000 and yield significant visual impact.
Delegate waterproofing to experts while handling cosmetic tasks. Source materials from local suppliers for savings. Gradual implementation allows testing the design before full commitment.
Maintaining and Evolving Your Wet Room
Wet rooms simplify cleaning with their barrier-free surfaces. Use microfiber cloths and mild cleaners on tiles to remove residue efficiently. The open layout eliminates hidden areas, streamlining routines.
Adapt the space over time by swapping accessories or lighting. Introduce plants for a biophilic touch or update hardware for refreshed style. The modular nature supports changes without structural alterations.
Long-term benefits include resilience to lifestyle shifts. Families find the design accommodates growing needs seamlessly. This adaptability ensures enduring value and satisfaction.
Steps to Create Your Wet Room
Begin planning with a detailed sketch of your bathroom layout. Measure dimensions and identify drain positions to inform sloping requirements. Consult local codes for ventilation and waterproofing standards.
Research suppliers for compatible systems and materials. Schedule a professional assessment to evaluate subfloor conditions. Set a budget that allocates funds for essentials like membranes and tiles.
Proceed with installation in phases: prepare the base, apply waterproofing, then add finishes. Test functionality before use. The outcome is a luxurious, practical space tailored to your home.