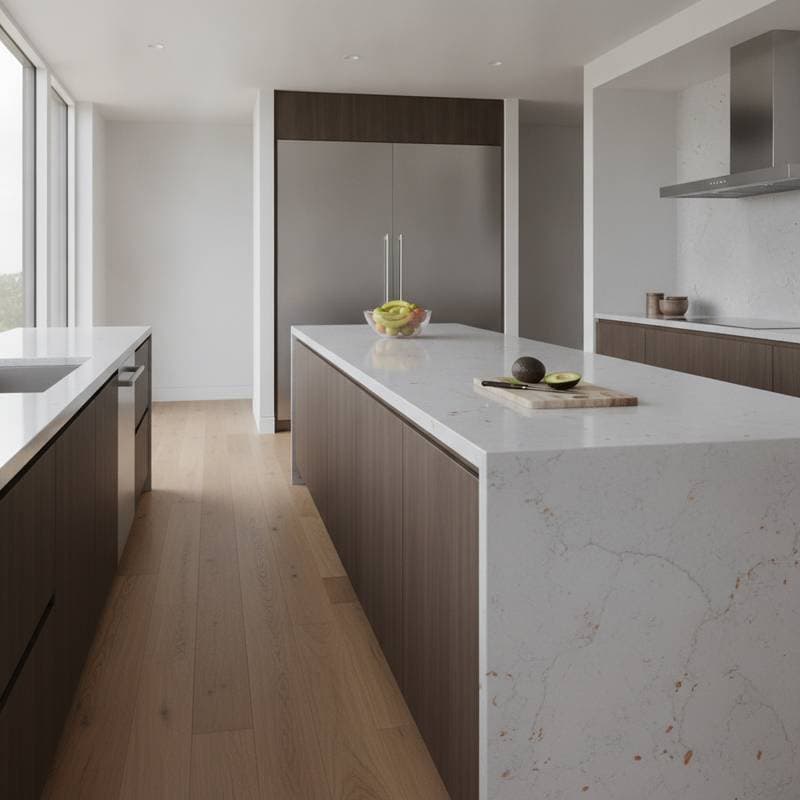
Induction Retrofits: Modernizing Kitchens Amid Gas Bans
New building codes in numerous cities mandate the replacement of gas appliances with electric options. For avid home cooks, this shift may seem daunting, as gas ranges have traditionally represented the pinnacle of control and responsiveness. However, induction technology has advanced significantly, often exceeding gas in precision and safety. Retrofitting a kitchen for induction extends beyond regulatory compliance; it safeguards the home's future while elevating daily cooking experiences.
As a remodeling contractor with extensive experience in induction conversions, I have overseen projects ranging from straightforward appliance replacements to comprehensive electrical overhauls. Success hinges not on the appliance alone but on meticulous pre-installation planning. Poor execution leads to frequent breaker trips, compromised wiring, and escalated expenses. Proper implementation yields a kitchen that operates cleanly, securely, and with minimal upkeep.
This guide outlines the conversion process from gas to induction, highlights pitfalls to sidestep, and provides strategies to enhance kitchen functionality through this upgrade.
How Induction Cooking Functions
Induction cooking harnesses magnetic fields to generate heat directly within compatible cookware. The cooktop surface remains comparatively cool during operation. This design contributes to its efficiency and safety profile, as removing the cookware instantly disrupts the magnetic circuit and halts heating.
Compatible cookware must feature ferrous materials, such as those containing iron. Cast iron skillets and enameled cookware perform reliably, as do many stainless steel varieties. Non-ferrous options like aluminum, copper, or glass require a magnetic base layer for functionality. Homeowners can verify suitability by attaching a magnet to the cookware base; firm adhesion confirms compatibility.
Contractors appreciate the simplicity of induction installations compared to gas systems, provided electrical infrastructure supports the demands. These units eliminate combustion risks, venting needs for exhaust, and potential fuel leaks. The primary hurdle involves verifying that the home's electrical capacity accommodates the power requirements without compromise.
The Retrofit Process: A Step-by-Step Guide
Effective induction retrofits proceed methodically to protect investments and adhere to safety codes. Each phase integrates technical precision with regulatory alignment.
1. Assess Current Infrastructure
Initiate with a professional electrical load analysis. An electrician evaluates the main service panel to determine available amperage. Review circuits serving the kitchen area and ascertain if additional breaker spaces are necessary. For homes with outdated wiring, replace aluminum conductors with copper and ensure all outlets include proper grounding.
2. Choose an Appropriate Appliance
Examine cooktop specifications including total wattage, zone arrangements, and interface design. Models with elevated power output provide rapid heating but consume greater current. Select based on cooking preferences and electrical limits; for instance, units with bridge zones accommodate oversized bakeware like griddles for versatile meal preparation.
3. Adjust Countertop Dimensions
Consult the manufacturer's cutout template prior to purchase. If modifications are required, collaborate with a certified countertop specialist. Stone materials such as granite demand exact measurements to avoid fractures during resizing. Professionals employ specialized tools to ensure seamless integration without surface damage.
4. Install a Dedicated Electrical Circuit
The electrician routes a 240-volt circuit from the panel to the installation site. Use wire gauge matched to the appliance's amperage rating, paired with a correspondingly sized breaker. Position the outlet or junction box within the lower cabinetry to shield it from operational heat.
5. Secure and Seal the Cooktop
Following electrical verification, position the cooktop into the prepared opening. Apply a high-temperature silicone sealant along the perimeter to block moisture ingress. Confirm the unit aligns flush and level with the surface; improper seating may produce operational vibrations or noise.
6. Verify Operation and Safety Features
Conduct individual tests on each heating zone post-installation. Observe power level transitions and ensure the unit detects cookware accurately. Address any humming sounds or uneven heating by confirming cookware compatibility. Retain the user manual for instructions on feature calibration, including child safety locks and auto-shutoff mechanisms.
Advantages in Performance and Upkeep
Installed induction cooktops demand minimal maintenance. Absent flames or removable grates, spills clean easily without residue buildup. Employ a soft cloth and mild cleaner for routine care; to prevent surface scratches, lift rather than slide heavy pots.
Performance-wise, induction delivers exceptional control. Temperature adjustments occur instantaneously, enabling tasks like precise chocolate melting without secondary vessels or high-heat searing with uniform results. Professional chefs increasingly adopt induction for these responsive qualities.
Safety enhancements include the absence of gas leaks or extinguishable pilot lights. The cool-touch surface minimizes burn risks, while integrated safeguards such as timers and lockouts add layers of protection for households with children.
Health and Environmental Impacts
Transitioning to induction removes combustion byproducts from indoor environments. This reduction in pollutants improves air quality and eases demands on exhaust systems. Research indicates that gas appliances contribute to respiratory issues in enclosed spaces, even with hoods; eliminating the source proves most beneficial.
Broadly, electrification aligns with evolving energy landscapes featuring increased renewables. Although current grids may blend sources, projections favor sustainable generation. Early adoption positions homes for cost stability and avoids dependencies on potentially regulated fossil fuels.
Roles of Contractors and Homeowners
Contractors bear responsibility for code adherence, thorough documentation of electrical modifications, and operational validation. All components, from breakers to connections, must align precisely with manufacturer guidelines. Coordination among electricians, fabricators, and installers ensures cohesive execution.
Homeowners contribute by finalizing selections promptly and articulating preferences. Specify preferences for cooktop versus range formats and verify measurements against cabinetry. Maintain records for warranty claims and inspections. Engaged participation, guided by professionals, prevents miscommunications and delays.
Implementing Your Induction Kitchen Upgrade
Converting to induction transcends mere compliance; it invests in enhanced safety, superior control, and enduring efficiency. Begin with an infrastructure audit, followed by appliance selection tailored to your routines. Engage certified experts versed in technical and legal requirements.
For comprehensive remodels, incorporate induction planning from the outset to conceal wiring and refine layouts. Standalone replacements still warrant detailed checks on connections and fits. As gas phase-outs accelerate, induction provides a reliable evolution, fostering cleaner air, streamlined maintenance, and health safeguards for the long term.